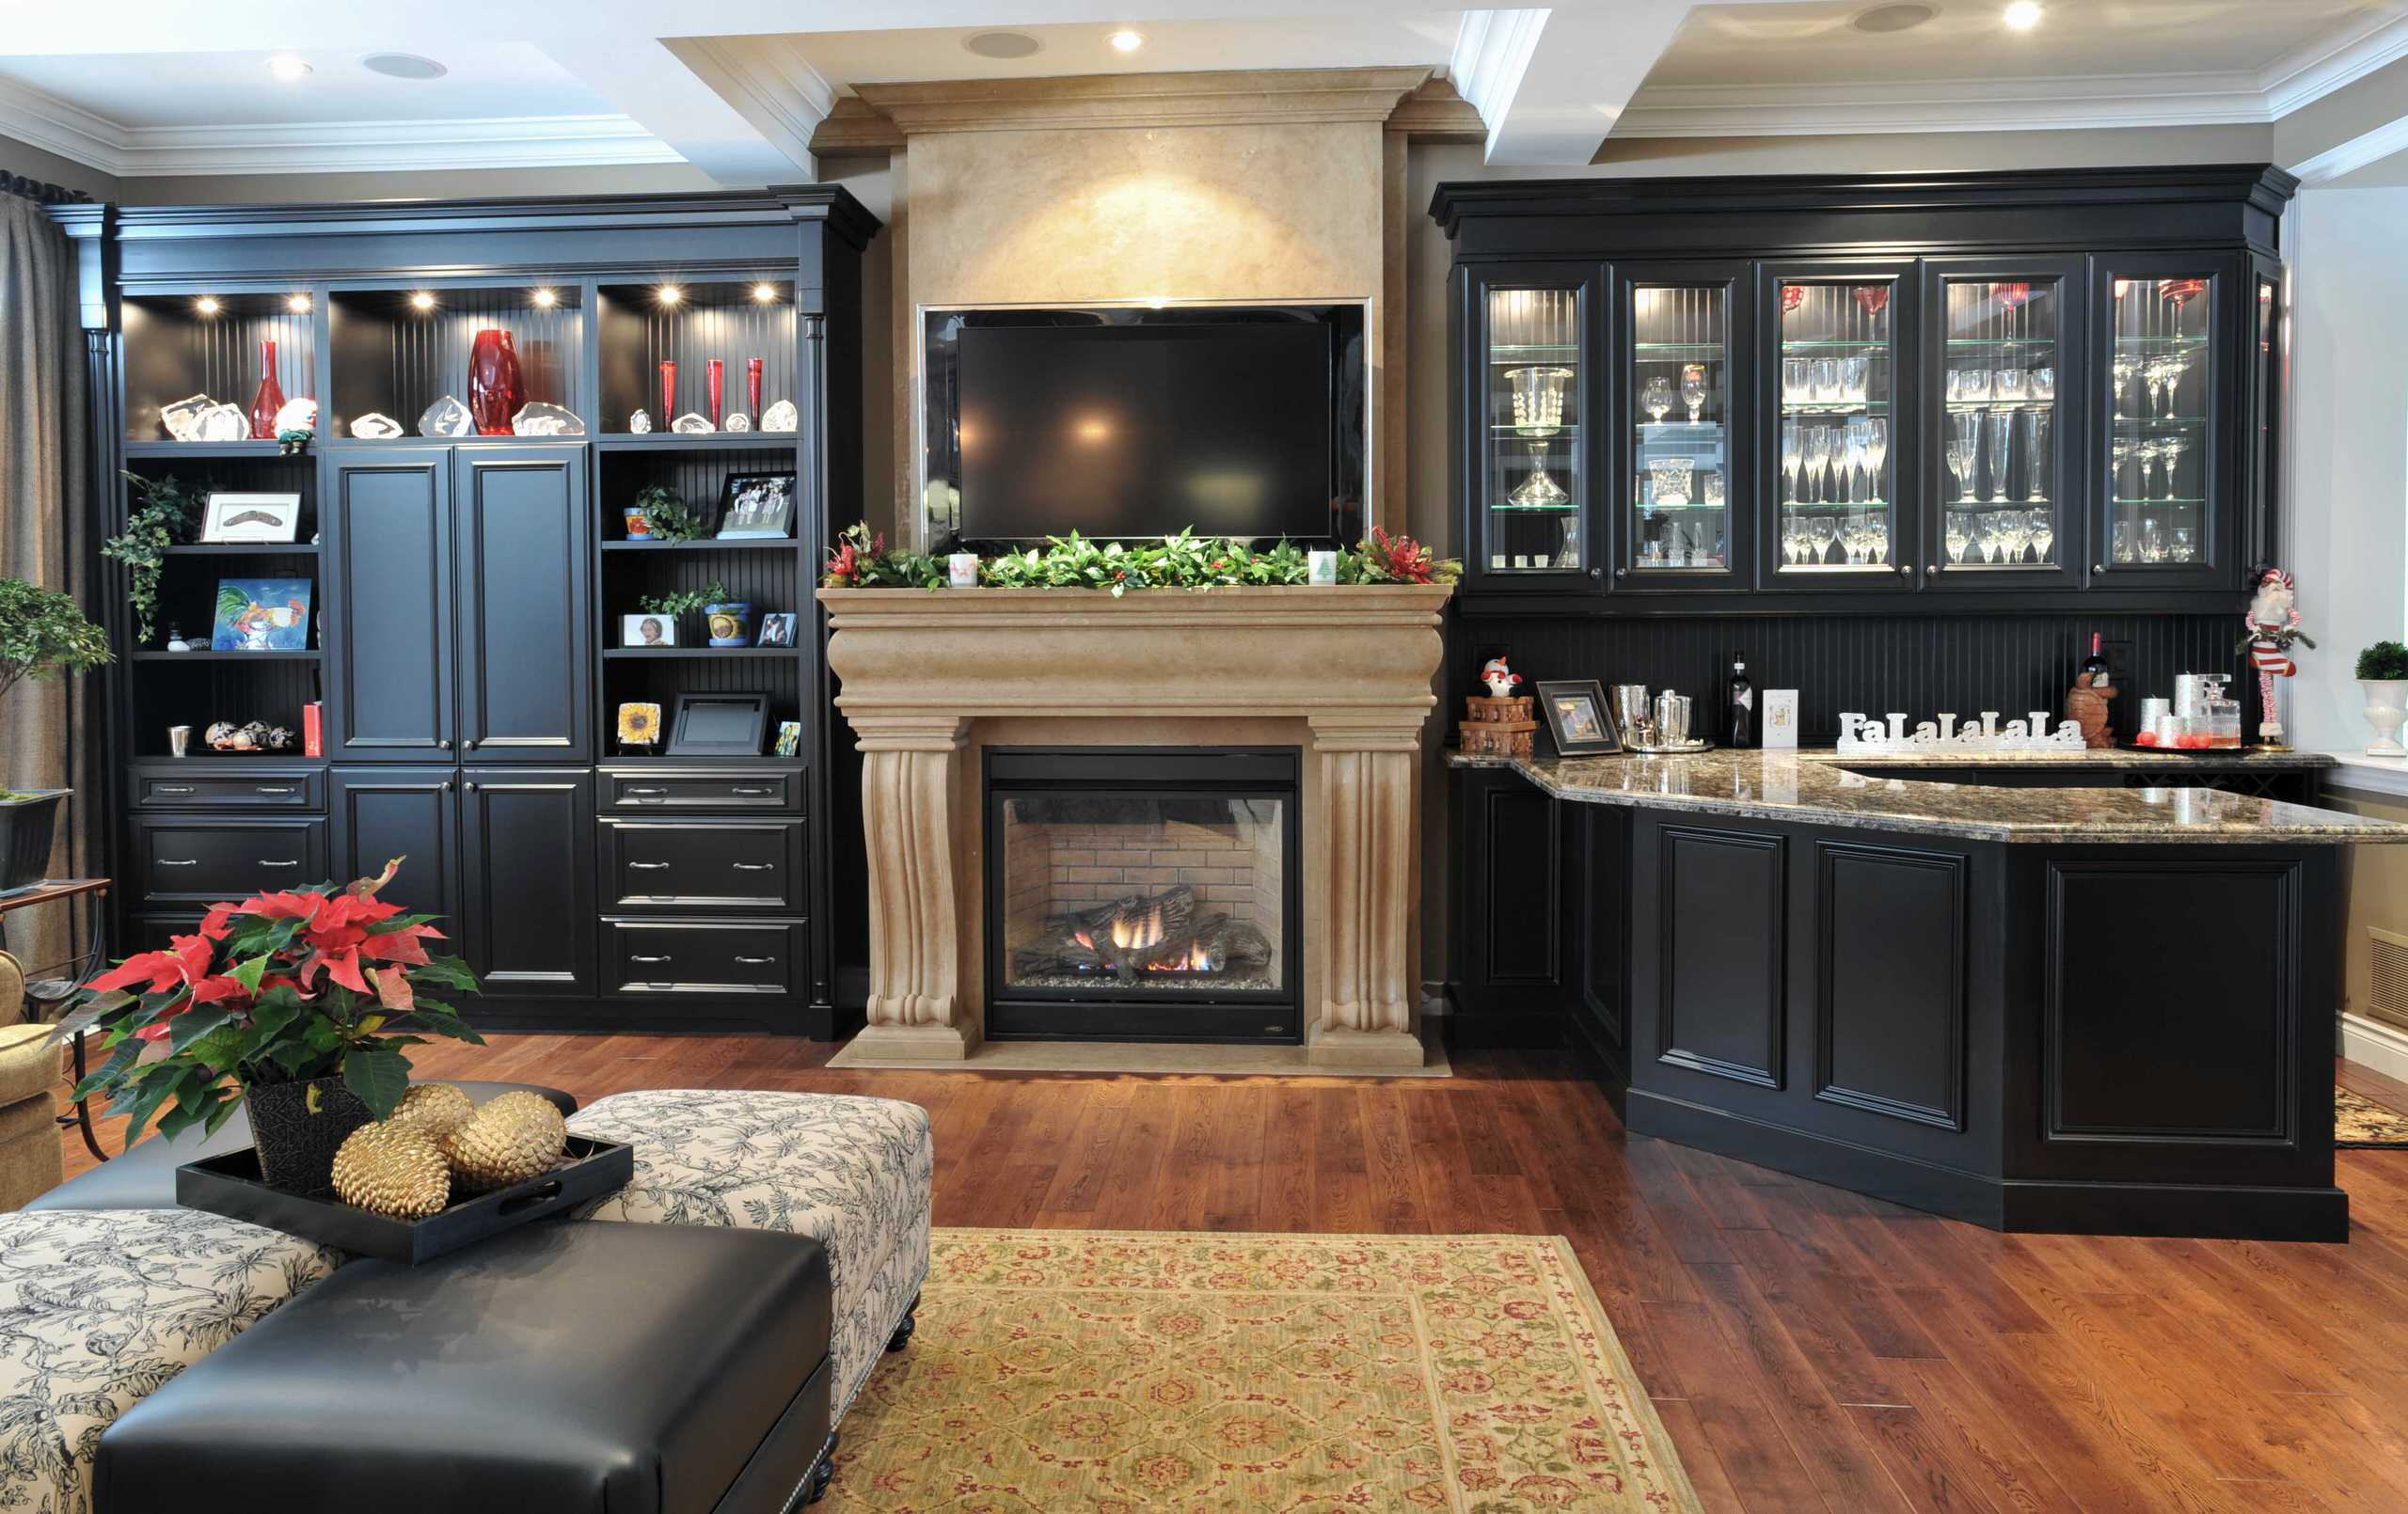
Your hearth isn’t just a heating feature—it’s where memories are made. We’ve seen how a well-designed focal point can transform a room, blending warmth with personality. Whether you’re hosting lively gatherings or enjoying quiet nights, your space deserves a showstopping centerpiece. A thoughtfully planned fireplace remodel can achieve exactly that, creating both comfort and style that reflect your unique taste.
Modern trends offer endless possibilities. Sleek stone veneers create minimalist charm, while reclaimed wood beams add rustic character. Even small updates like fresh paint or a new mantel shelf can refresh your look without major construction. The right materials and finishes turn functional elements into artistic statements.
Safety and style go hand in hand. We’ll guide you through heat-resistant finishes, efficient venting options, and layouts that maximize your room’s flow. Our approach balances timeless appeal with innovative touches, ensuring your upgrade feels both current and enduring.
Think beyond basic brick. Textured tiles, floating shelves, or integrated lighting can redefine your space’s look. These choices don’t just enhance daily life—they boost your home’s market value. Let’s create a design that sparks joy every time you walk into the heart of your home.
Key Takeaways
- Style updates range from simple cosmetic changes to full structural overhauls
- Material choices impact both aesthetics and long-term durability
- Safety features should integrate seamlessly with design elements
- Strategic upgrades increase property value while improving daily enjoyment
- Current trends favor mixing textures and eras for personalized statements
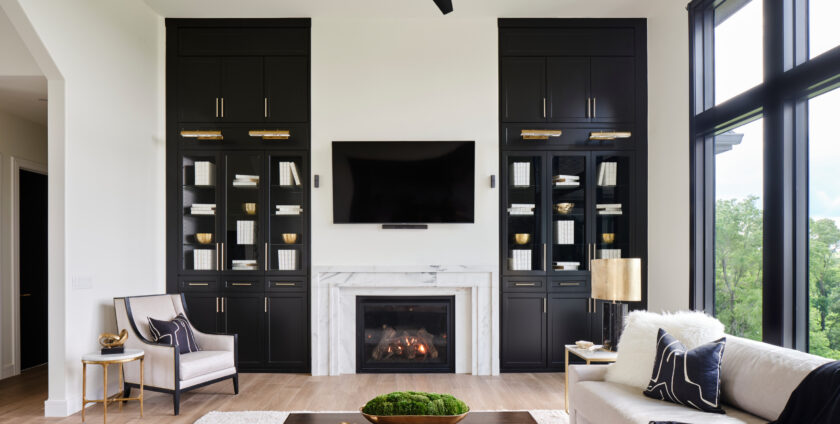
Introduction to Our Fireplace Remodel Ideas

Credit: Houzz
Every room deserves a captivating feature that combines beauty and function. Our team breathes new life into tired centerpieces, transforming them into stunning focal points that elevate your home’s character. Whether your space needs subtle updates or a complete makeover, we craft solutions that match your vision.
Overview of the Project
Central hearths often face wear from chipped surfaces, stained materials, and accumulated soot. According to Angi experts, refacing projects typically range from $650 to $4,000, offering cost-effective ways to revitalize your space. We blend durable materials with creative layouts to enhance both safety and aesthetics, ensuring your centerpiece becomes a conversation starter.
Contact Information and How to Reach Us
Ready to explore possibilities? Visit our Waldorf showroom at 52 Industrial Park Dr. #17-19 to view samples and meet our design specialists. Call 301-328-3678 or email info@usgranitemarble.com for personalized consultations. Let’s create a look that reflects your unique overall style while boosting your home’s value.
Planning Your Fireplace Remodel Project
Credit: Houzz
Smart preparation separates dream designs from costly mistakes. Our team helps homeowners navigate every phase of their upgrade, from initial evaluations to final installations. Let’s explore how to create a roadmap that balances ambition with practicality.
Assessing Existing Damage and Opportunities
Start with a structural assessment. Look for cracked tiles, uneven surfaces, or gaps in mortar joints. A professional inspection often reveals hidden issues like ventilation problems or outdated safety features.
Documenting these findings early saves money later. We’ve seen clients reduce unexpected costs by 30% through thorough evaluations. Prioritize repairs that affect functionality before focusing on cosmetic changes.
Setting a Realistic Budget and Timeline
Material choices dramatically impact costs. While ceramic tiles average $5-$15 per square foot, natural stone ranges from $15-$50. Always include a 15% buffer for unforeseen expenses—roof leaks or wiring issues often surface during renovations.
Consider these time estimates for common phases:
| Phase | Time Estimate | Typical Cost Range |
|---|---|---|
| Inspection & Prep | 2-4 hours | $150-$300 |
| Material Selection | 3-5 days | Varies by product |
| Installation | 6-8 hours | $650-$4,000+ |
DIY enthusiasts should double their expected time commitments. Complex tasks like stone slab installation often require specialized tools and skills. Remember—quality craftsmanship takes time, but delivers lasting results.
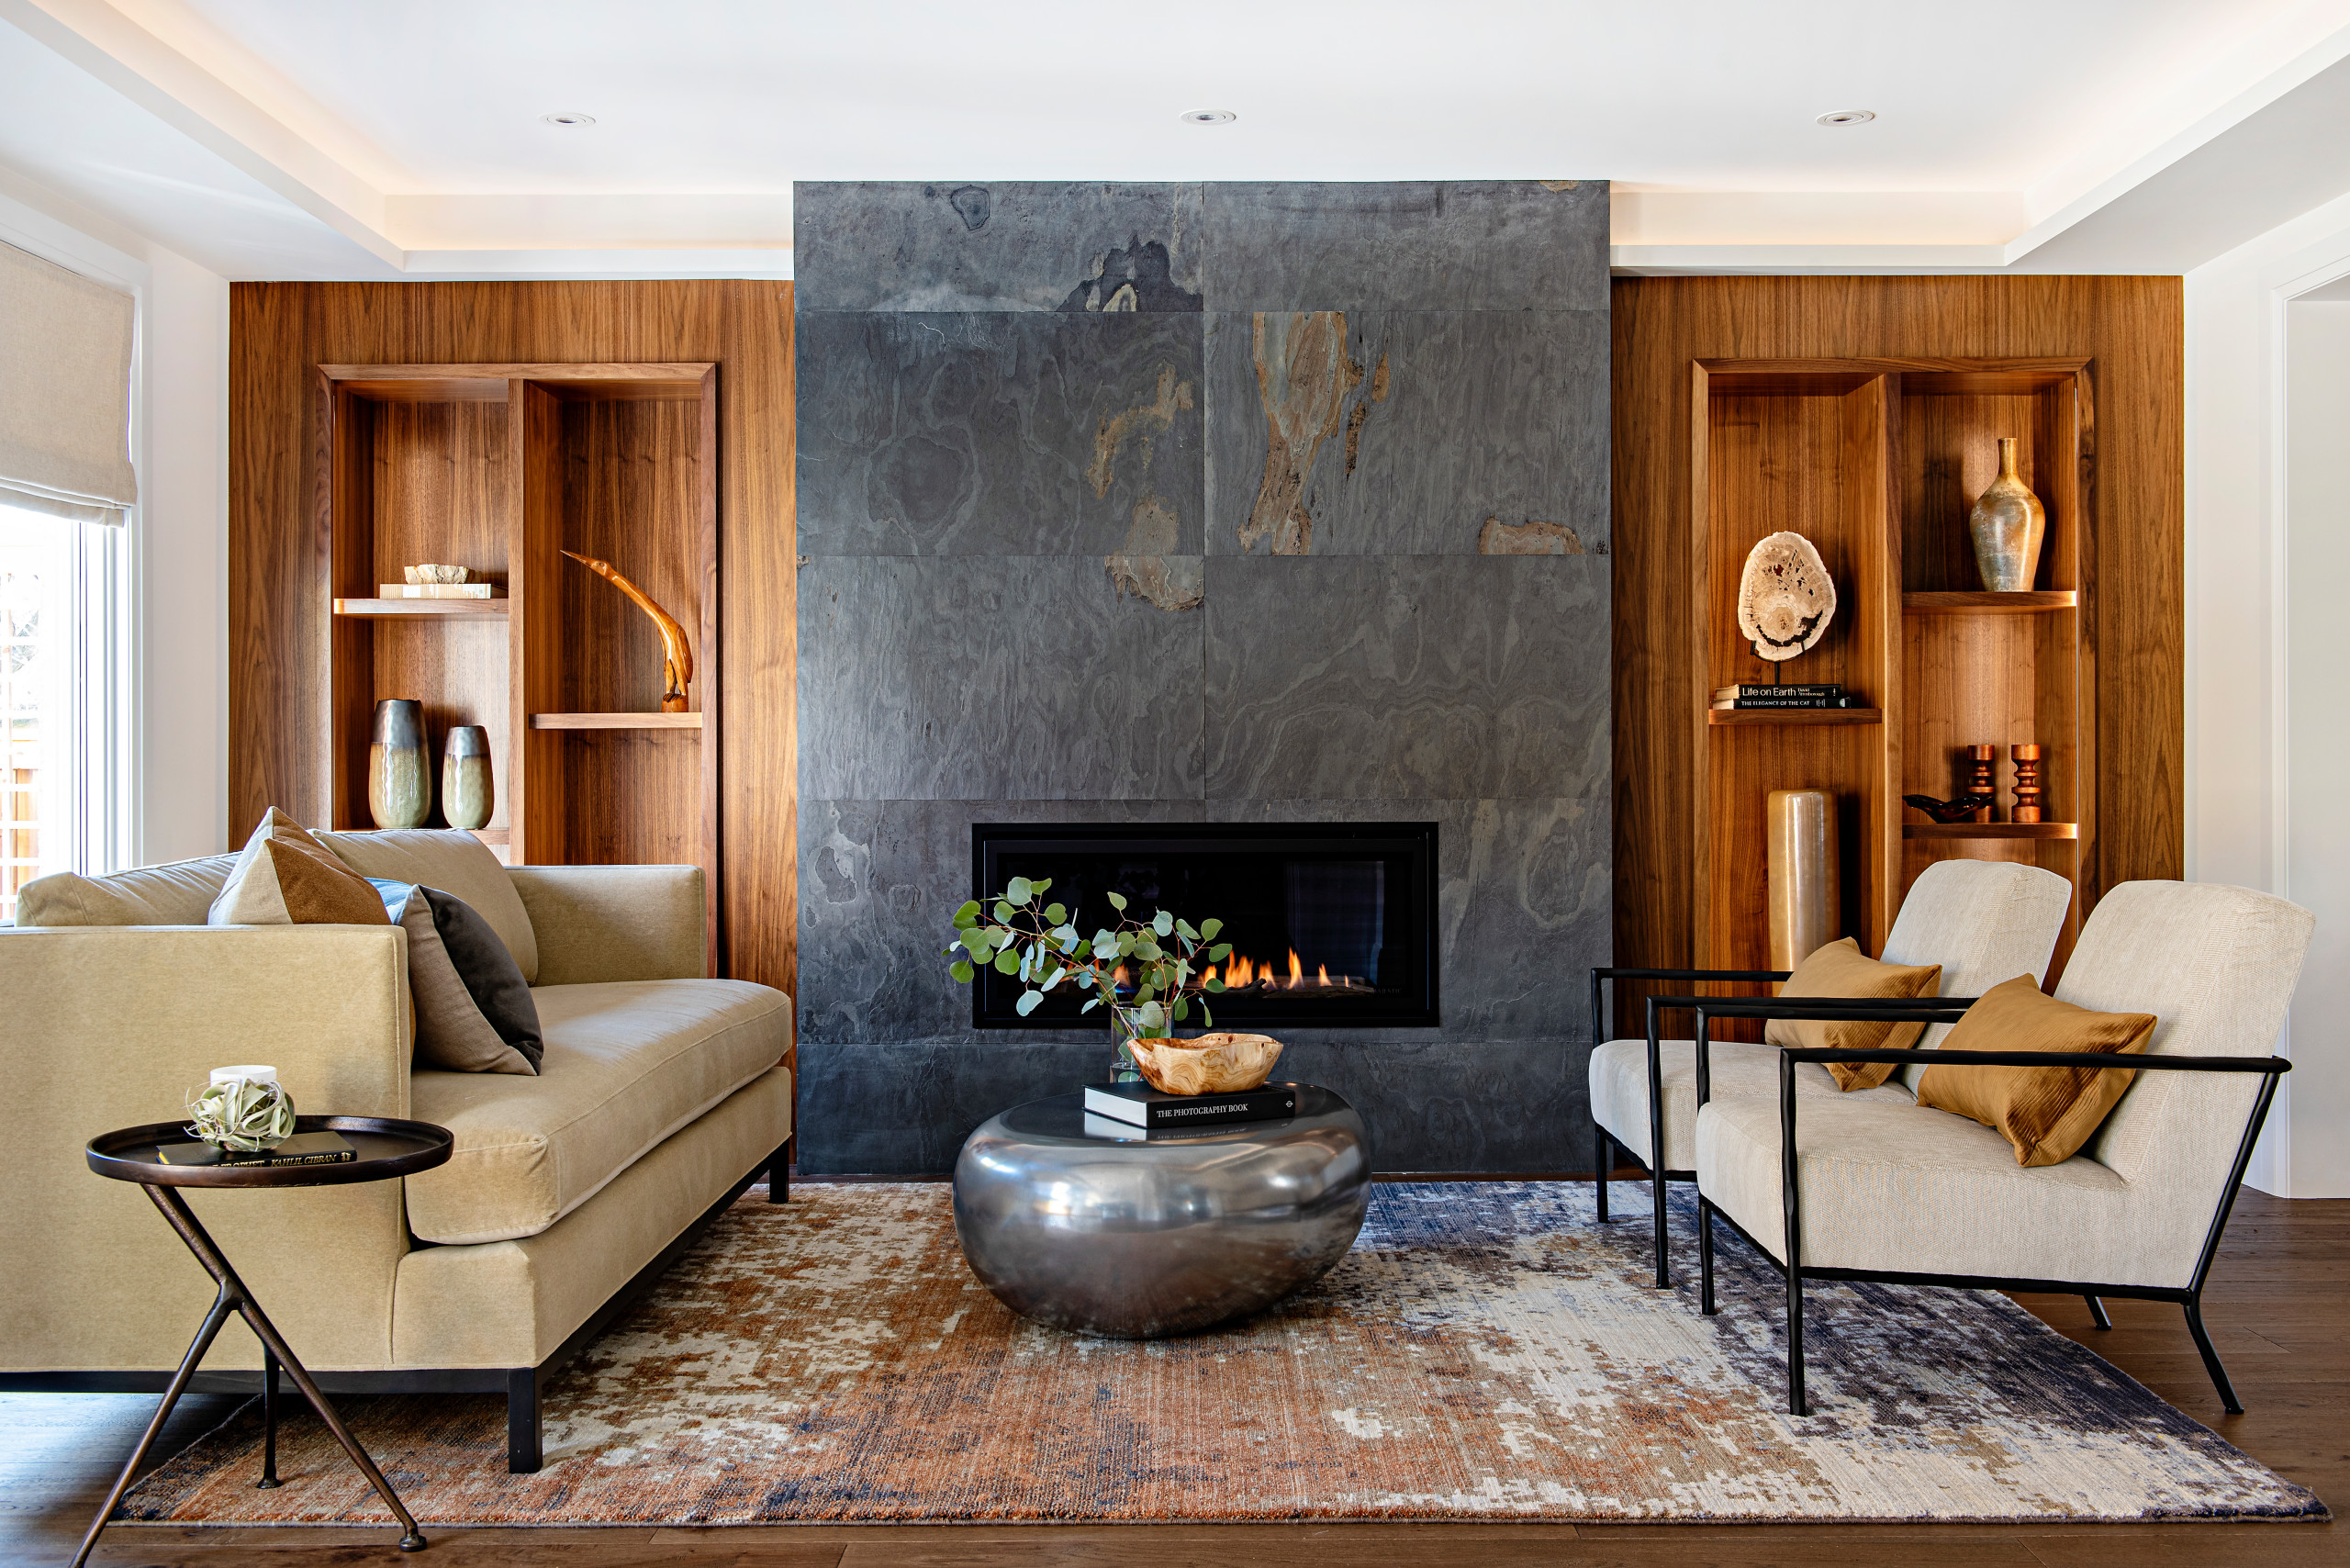
Essential “fireplace remodel,” Tips to Transform Your Home
Credit: Houzz
Your living space’s heartbeat deserves thoughtful updates that marry form and function. Current design movements celebrate bold material pairings – think matte black metal frames hugging weathered stone, or geometric tiles framing minimalist gas fireplace systems. These combinations create visual harmony while addressing modern needs.
Understanding the Latest Trends and Techniques
Homeowners love energy-smart solutions that don’t sacrifice style. Glass enclosures now feature smart-tint technology, reducing heat loss by 40% compared to traditional screens. For DIY upgrades, we suggest starting with mantel refreshes using peel-and-stick veneers or metallic paints.
Watch instructional clips from trusted sources before tackling electrical work. “Proper venting ensures safety and efficiency,” notes a recent This Old House tutorial. Visual guides help bridge the gap between inspiration and execution.
How Our Experience Benefits Your Renovation
We’ve perfected blending heritage craftsmanship with space-age materials. Our team troubleshoots common issues like uneven surfaces or outdated flues before they derail projects. This proactive approach saves clients an average of 18% in unexpected costs.
For complex installations, our 3D modeling software shows how different finishes will interact with your room’s lighting. This tech helps achieve that magazine-worthy look fireplace enthusiasts crave. Whether you’re preserving historic charm or chasing contemporary flair, we tailor solutions to showcase your style.
“Great design solves problems before they arise – that’s where true value lives.”
From selecting heat-resistant adhesives to positioning LED accent lighting, our methods ensure lasting beauty. Let’s create a centerpiece that elevates daily life and impresses future buyers.
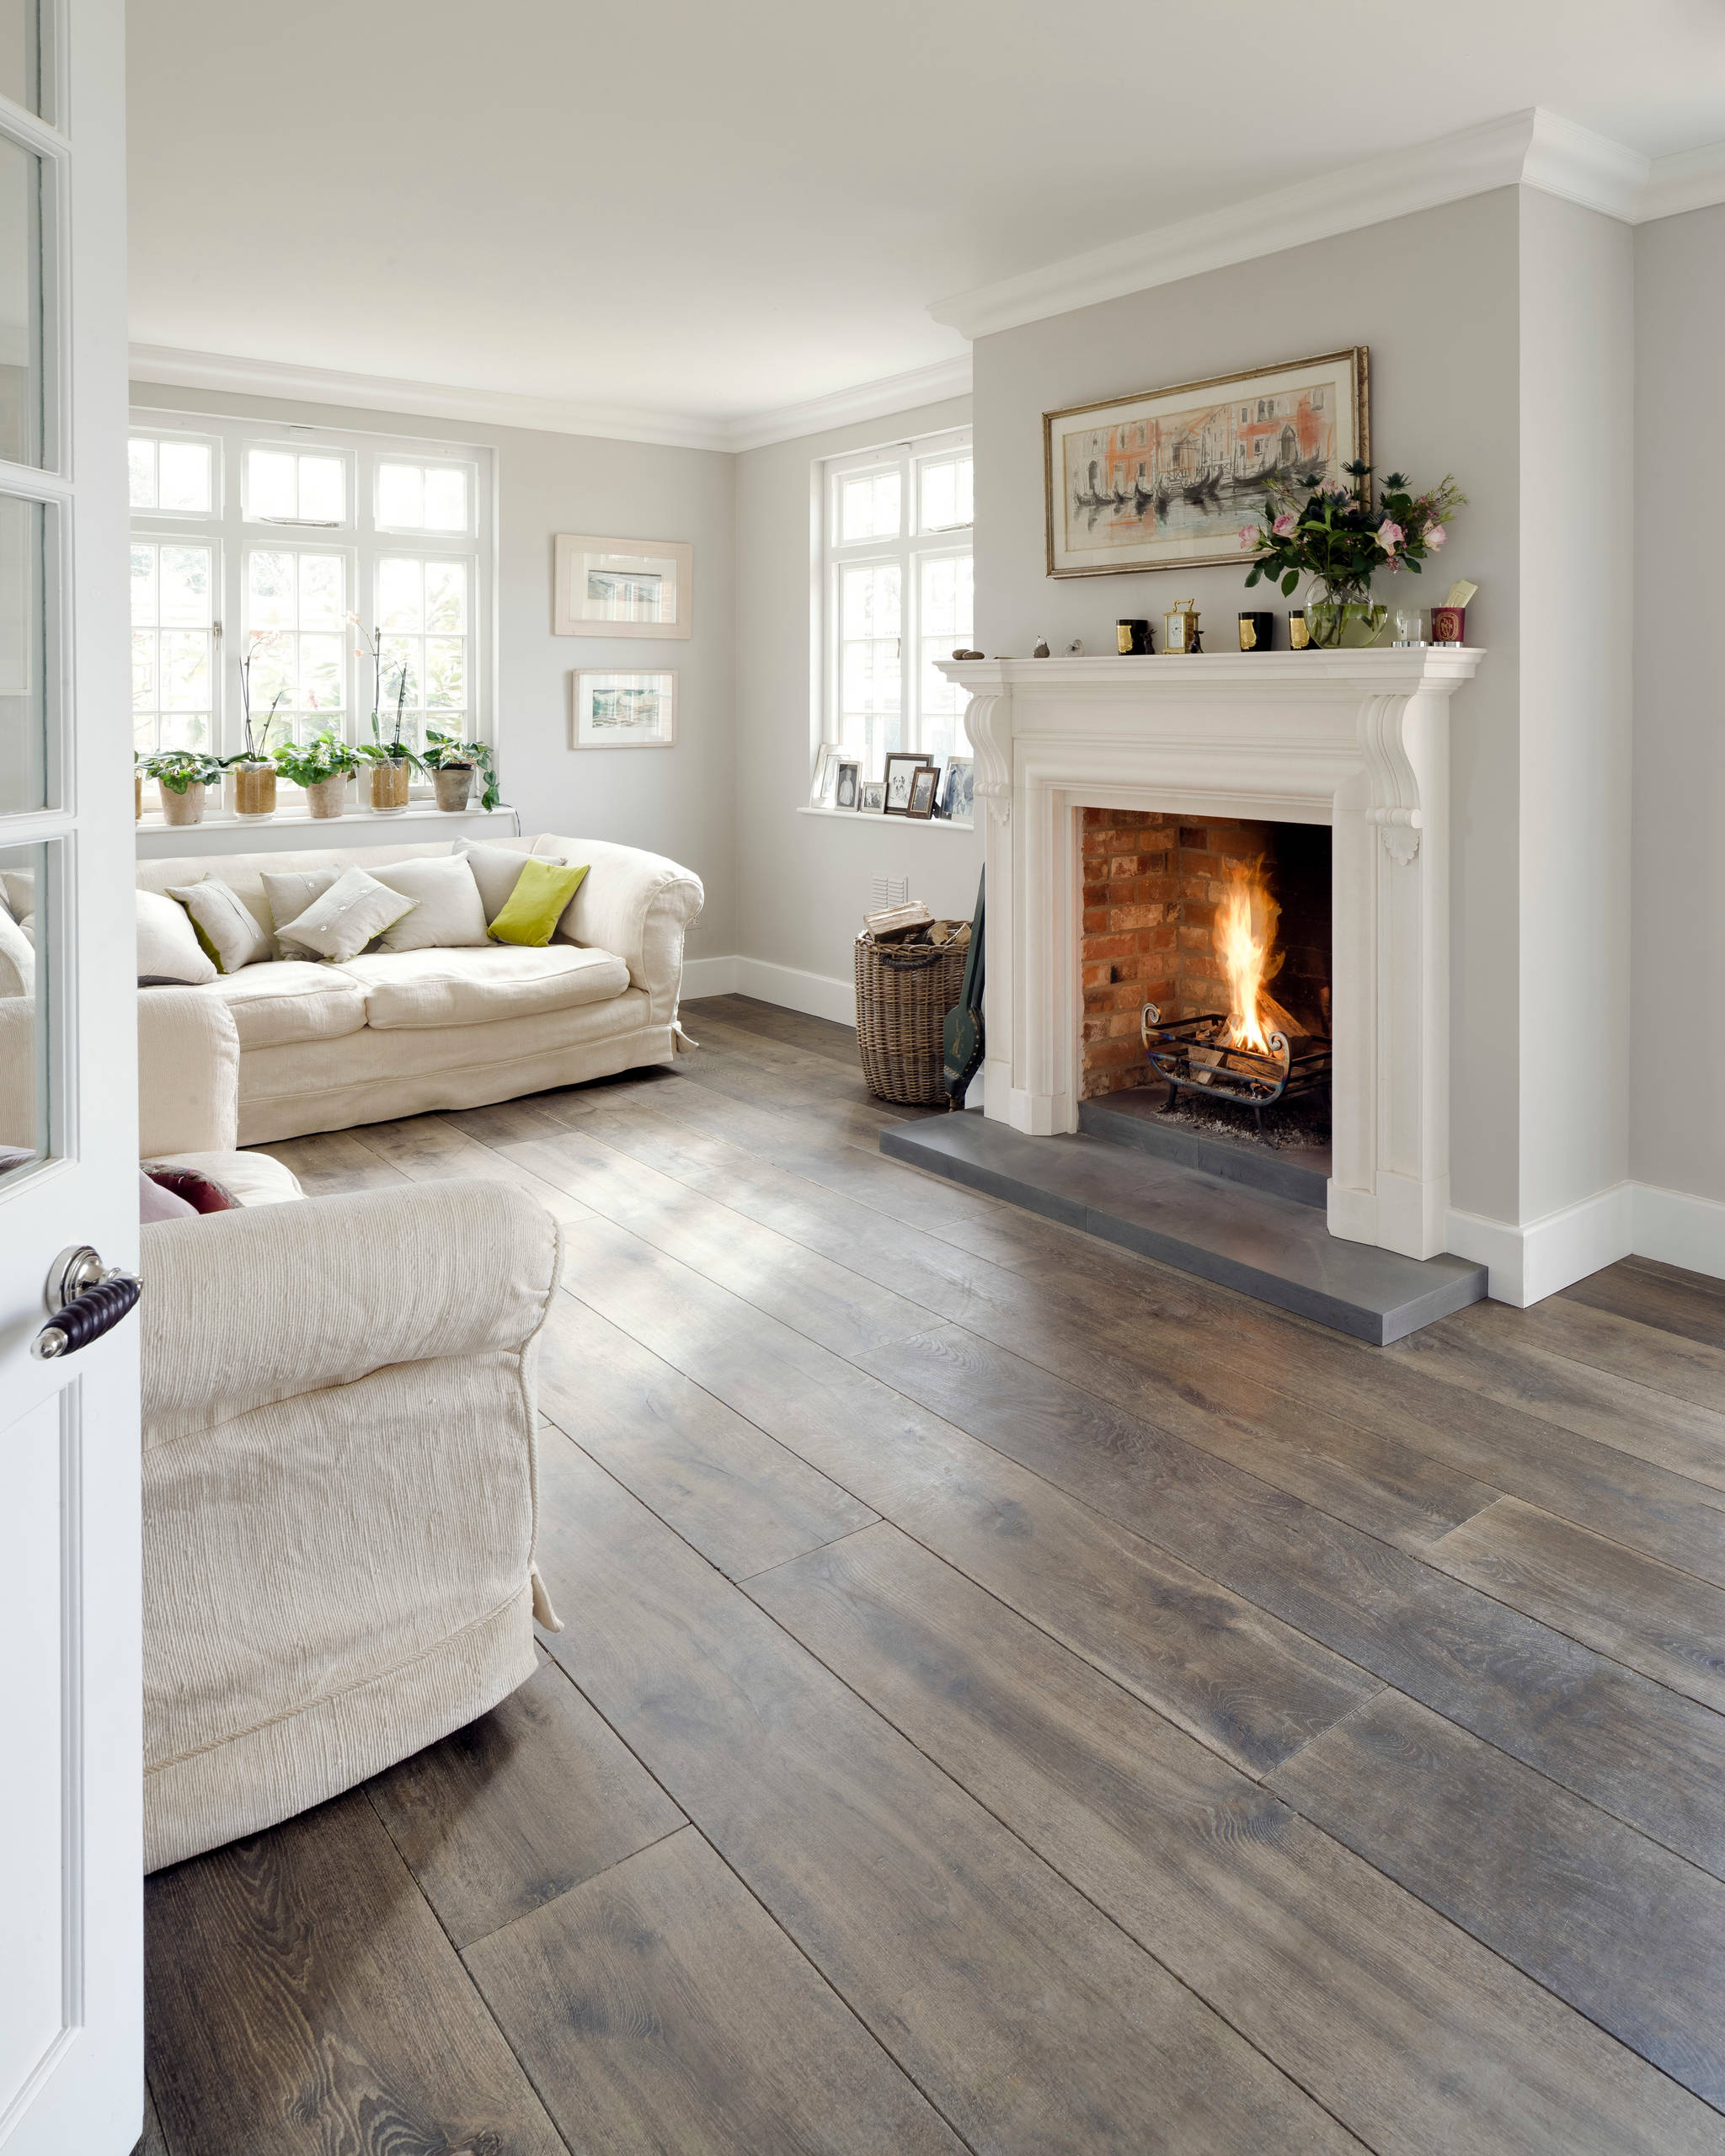
Selecting the Perfect Materials for Your Fireplace Surround
Credit: Houzz
Material choices form the backbone of any stunning centerpiece. We help homeowners navigate options that balance practicality with personal style, creating spaces that feel both fresh and timeless.
Choosing Between Natural Stone, Tiles, and Salvaged Mantels
Granite and marble remain crowd favorites for their heat resistance and polished finish. These natural stones handle temperature swings effortlessly while adding luxury. For textured charm, slate offers earthy tones that hide ash residue.
Porcelain tiles bring versatility to your design. Modern manufacturing creates realistic stone looks at lower costs. Always check for high-heat certification—some ceramics crack under extreme temperatures.
- Reclaimed wood mantels add rustic warmth
- Concrete surrounds suit industrial aesthetics
- Vintage salvaged pieces tell unique stories
Evaluating Durability, Style, and Heat Resistance
Maintenance needs vary wildly between materials. Polished marble demands weekly sealing, while porcelain wipes clean instantly. We recommend this simple evaluation framework:
- Test samples with heat sources
- Compare cleaning requirements
- Assess colorfastness under light
One client’s salvaged oak mantel became the star of their farmhouse-style room. “The patina gave instant character we couldn’t replicate,” they shared. Such finds transform generic spaces into conversation starters.
Remember—your surround and hearth work as a team. Pair durable stone bases with lighter mantels for visual balance. This approach ensures lasting beauty without compromising safety.
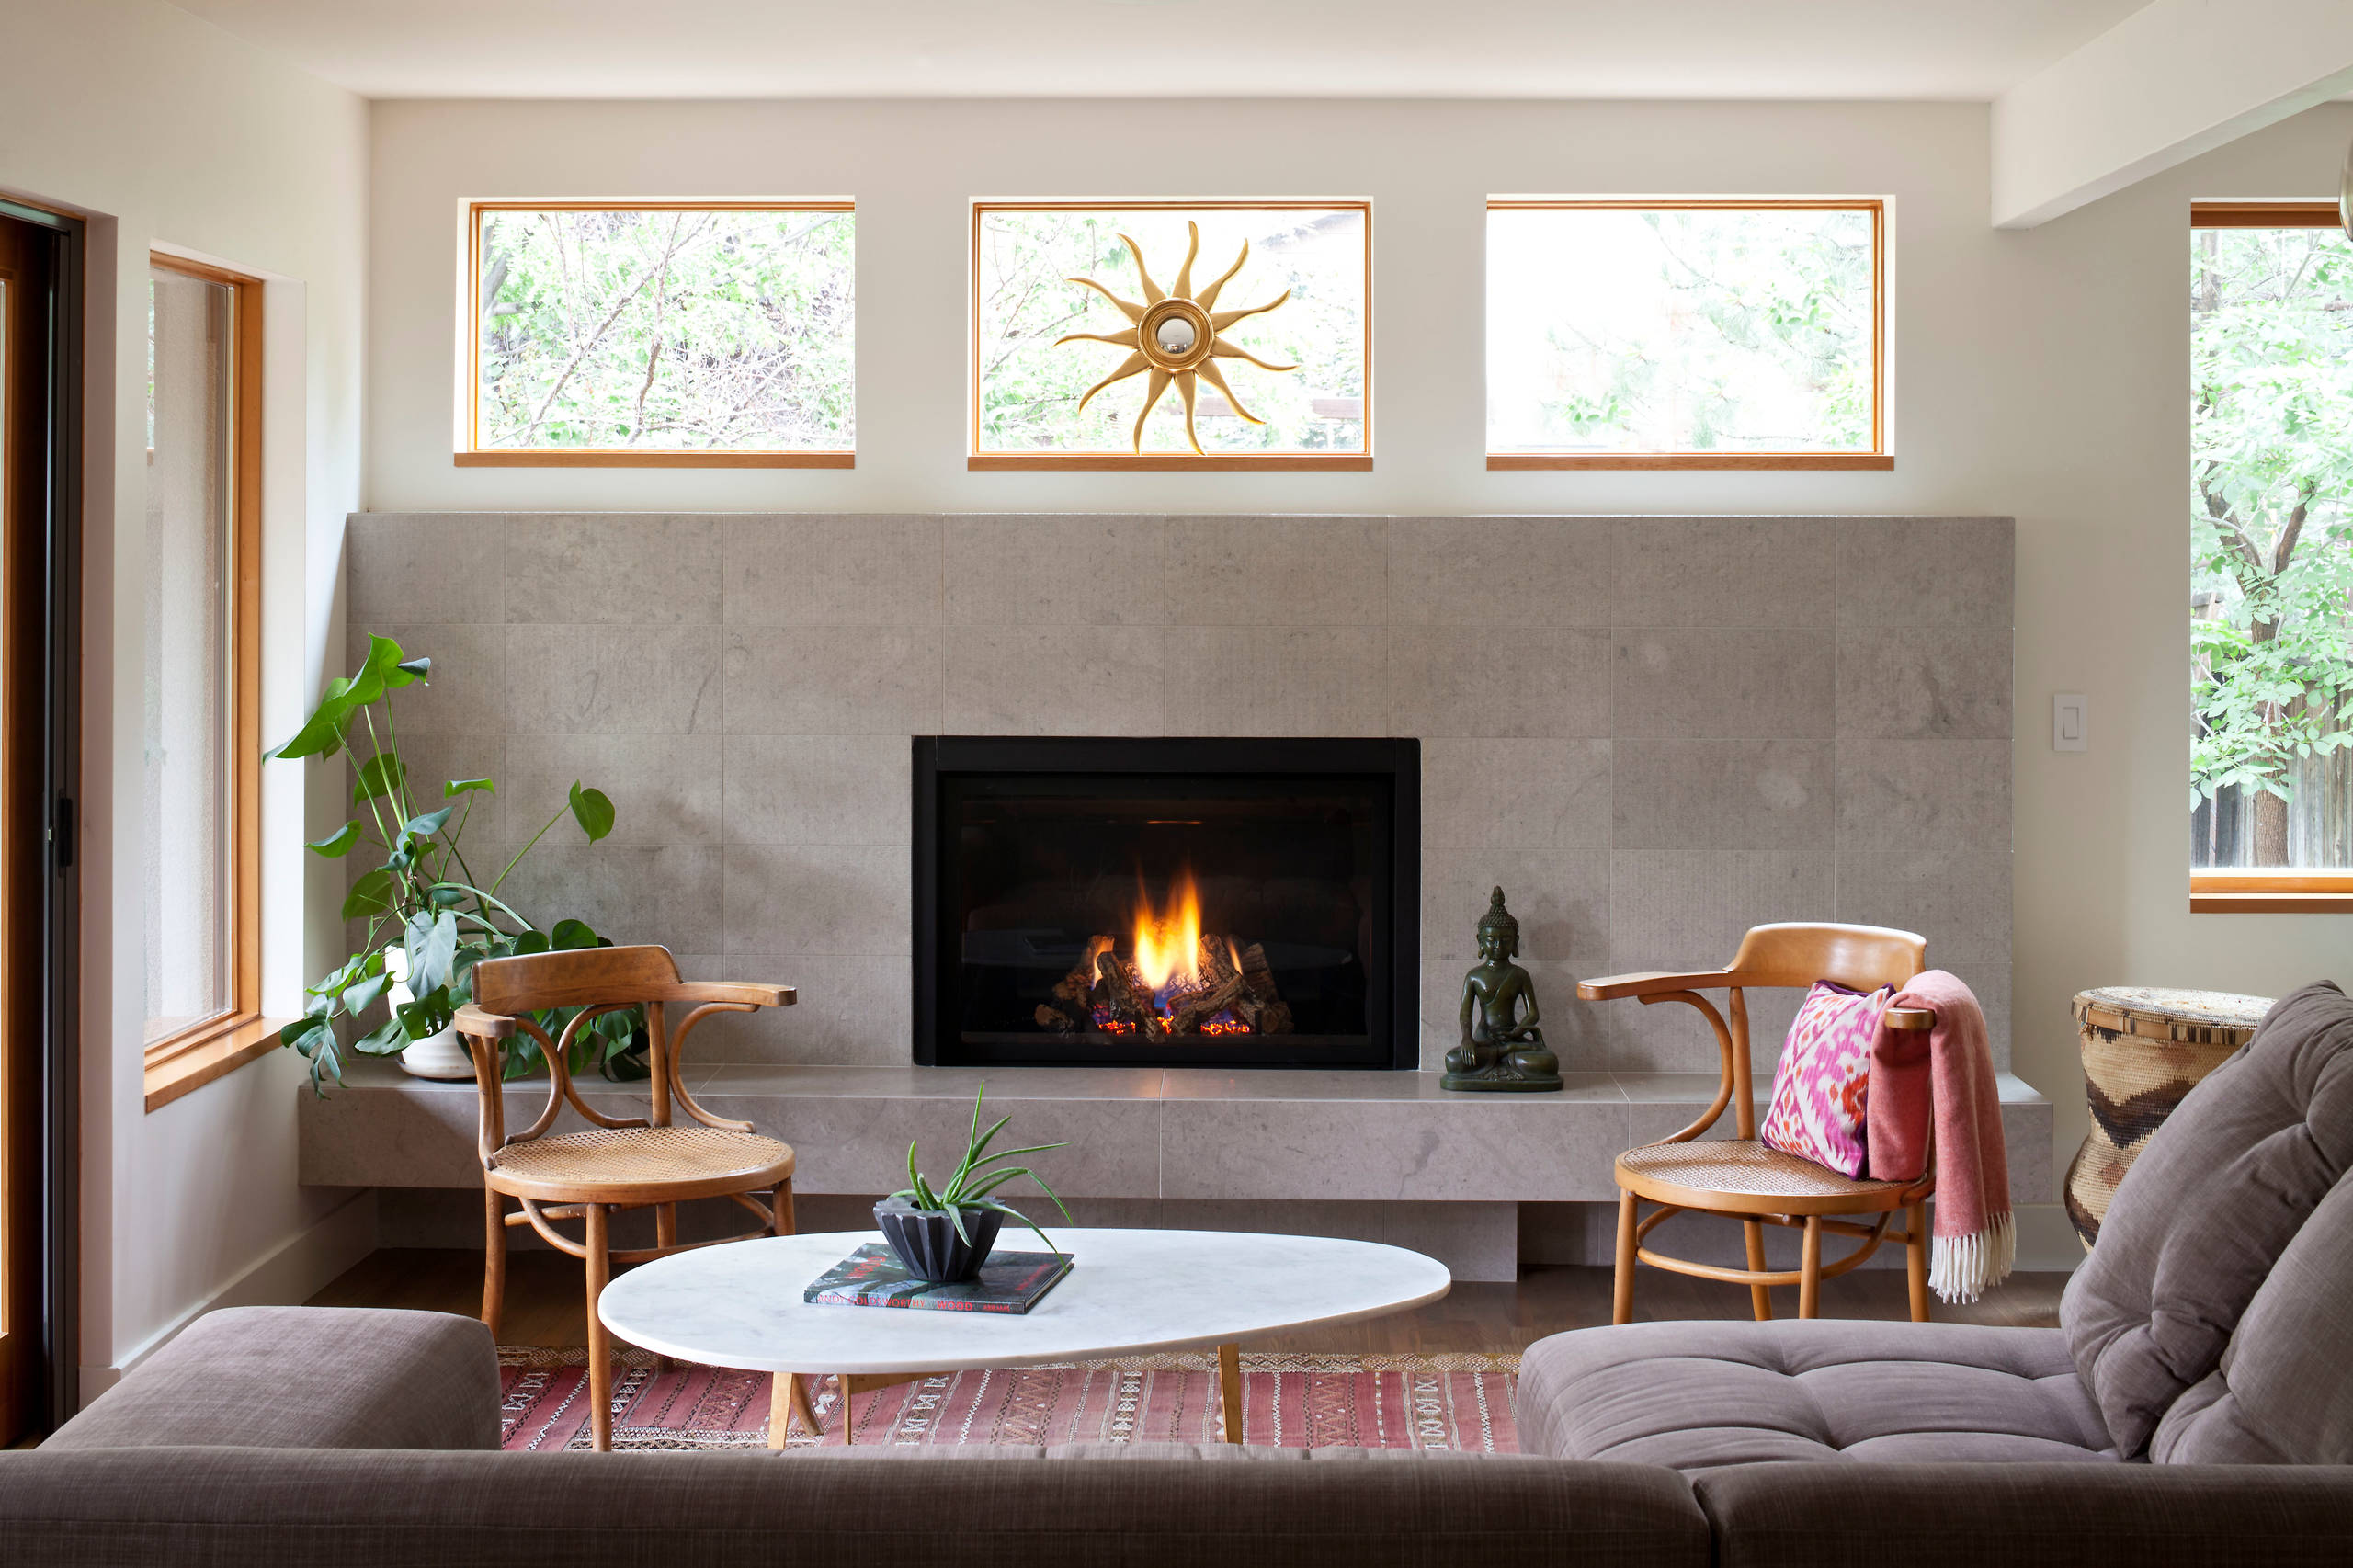
Step-by-Step Guide to Removing and Preparing Your Hearth
Credit: Houzz
Transforming your home’s centerpiece starts with proper groundwork. We’ll walk through essential techniques to refresh your space while maintaining structural integrity. Follow these proven methods to achieve professional results.
Safe Demolition Techniques
Begin by protecting floors with cardboard sheets taped around the work area. Use a prybar to detach the mantel, checking for hidden fasteners. Keep wood framing 2 inches clear of the firebox opening as per safety codes.
Demolition hammers with chisel bits efficiently break up old mortar and stone. Always wear safety goggles and N95 masks – debris clouds contain harmful particles. One client saved $1,200 in repair costs by methodically removing tiles without damaging subflooring.
Surface Prep Mastery
Mix concrete topping to fill uneven areas, using a notched 2×4 screed board for leveling. Dampen the base before applying thinset mortar – this prevents premature drying. Our team swears by the “ridge test”: comb mortar with a trowel until furrows hold their shape.
| Essential Tools | Purpose | Safety Tip |
|---|---|---|
| Demolition Hammer | Remove old materials | Wear ear protection |
| Margin Trowel | Apply mortar | Keep blades guarded |
| Grout Float | Smooth surfaces | Use ergonomic grip |
Allow 72 hours curing time before installing new tiles or stone. Rushing this step causes 43% of DIY failures according to Home Improvement Institute data. Remember – patience during prep ensures decades of enjoyment from your updated space.
“Measure twice, mix once. Proper base preparation eliminates 90% of installation headaches.”
Installing and Securing Your New Fireplace Surround and Mantel
Credit: Houzz
Precision transforms good installations into showstopping features. We focus on millimeter-perfect placement that elevates your room’s architecture. Proper techniques ensure your updated centerpiece stands the test of time and use.
Aligning Pieces for a Professional Look
Start by dry-fitting all components. Use plastic spacers between tiles or stone slabs to maintain even gaps. Our team swears by laser levels – they reveal subtle misalignments invisible to the naked eye.
Apply adhesive in small sections to prevent drying issues. Press each piece firmly, twisting slightly to create suction. Check every row with a 4-foot level, making micro-adjustments as needed.
For mantels, mark stud locations before drilling. We prefer counter-sunk screws hidden by wood filler for seamless finishes. Final inspections catch uneven edges or protruding fasteners – details that separate amateur work from expert craftsmanship.
Let your new focal point cure completely before enjoying its warmth. This attention to detail ensures years of beauty and safe operation. Your vision deserves nothing less than flawless execution.
FAQ
What steps ensure proper alignment during installation?
Start by marking the center of your wall and firebox opening. Use a level to check horizontal and vertical positioning as you secure each piece. Temporary braces or spacers help maintain alignment while the mortar or adhesive sets.
Can we tackle this project without professional help?
Yes! Many homeowners successfully update their hearths with basic tools like a trowel, level, and saw. However, consult a specialist if you encounter structural issues, gas lines, or electrical wiring during demolition.
How long does thinset take to cure before adding tiles?
Most thinset mixtures need 24–48 hours to fully set. We recommend waiting until the surface feels completely solid and cool to the touch. Rushing this step risks uneven tiles or gaps in your design.
What current trends work well for modern homes?
Sleek linear surrounds with minimalist mantels are popular, along with mixed materials like metal accents paired with stacked stone. For traditional spaces, reclaimed wood or intricate tile patterns create warmth without sacrificing functionality.
How do we protect walls from heat damage?
Install a non-combustible backer board around the firebox opening. Maintain proper clearance between combustible materials and the heat source—check local codes for specific distance requirements based on your fuel type.
- By: yunusemre
- Tags: Cozy Fireplace Ideas, Home Improvement Tips, Modern fireplace design, Stylish Living Spaces
- Category: Fireplace
- 0 comment